 Git
Git
Working with Git Configuration
In this article, we will learn How to configure settings in Git in Windows operating system.
Total Views: 2120
In this article, we will learn How to configure settings in Git. In Git, we need to set up some configurations like user.name and user.email before doing the first commit. Below are the commands that need to run in order to set the user.name and user.email. The –Global setting allows these settings to be applicable to all the repositories. It means that the configuration settings are applied to all future git repositories so we don’t need to do the below step again until any changes required in name and email.
git config --global user.name “<Name>”
git config --global user.email “<Email>”
Use “git config --global user.name” and “git config --global user.email” command in order to view the configured settings.

In case you want to apply settings to a specific repository then no need to pass –global flag. Open Git bash in a Git repository and use the below commands:
git config user.name “<Name>”
git config user.email “<Email>”

To check all the global config settings, run the below command.
git config --global –list

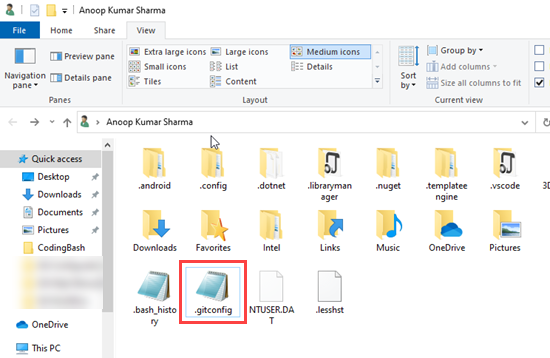
In windows, Global config setting is located in C:/Users/<UserName>/.config file.

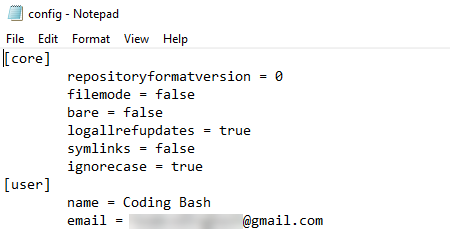
If you open that file in the Notepad (or any editor), you will see the same information shown after running the above command in git bash.

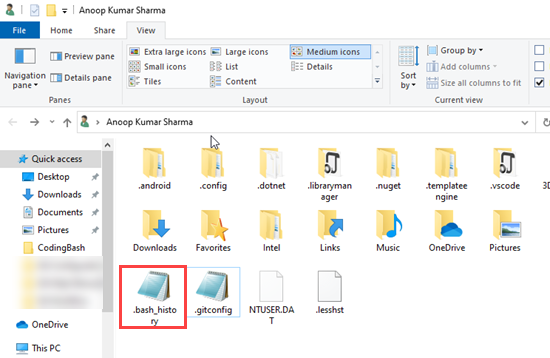
Note: There is .bash_history file next to the .gitconfig file which contains all the commands you run on the git bash.

You can refer to this file in case you forget or wants to use the command which is previously executed with git bash.
To check the config related to the specific repository, run the below command in the git repository with git bash.
git config –list
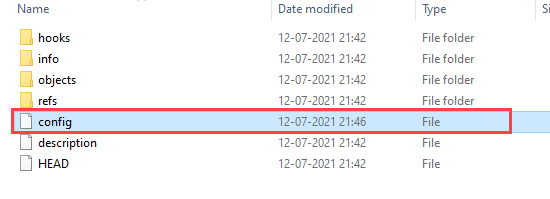
Repository specific configuration resides in “.git” hidden folder as shown in the below image.

Open the Config file to check the repository-specific configuration.

It is also recommended to change these files with the git bash commands instead of directly changing the files.
