 Azure
Azure
Configure IIS Web Server in Azure Virtual Machine
In this article, we will learn How to configure IIS Web Server in Azure Virtual Machine.
Total Views: 3157
In this article, we will learn How to configure IIS Web Server in Azure Virtual Machine. In the previous article, we already created the Windows Server 2012 Datacenter Virtual Machine. This article is the continuation of the “Create a Virtual Machine in Azure” (Recommended to you in case you haven’t gone through it yet) article.
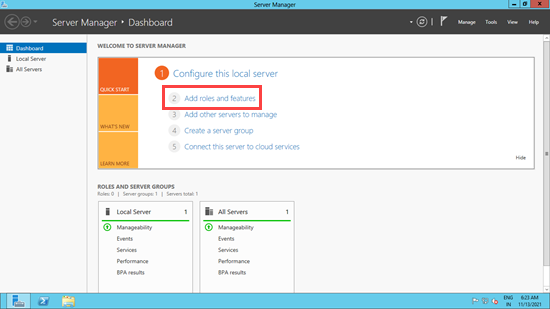
Click on Add Roles and Feature in Server Manager.
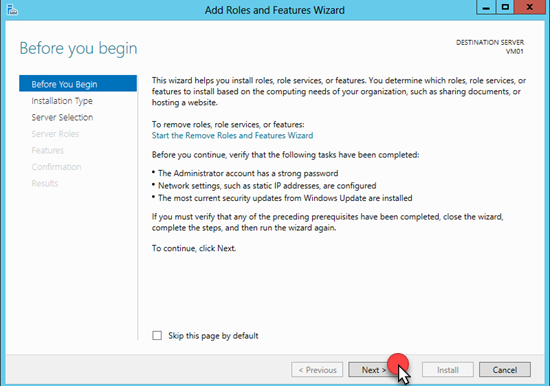
Add Roles and Feature Wizard will be open. Click on the Next button to proceed.
Select the Installation type as Role-based or Feature-based Installation.

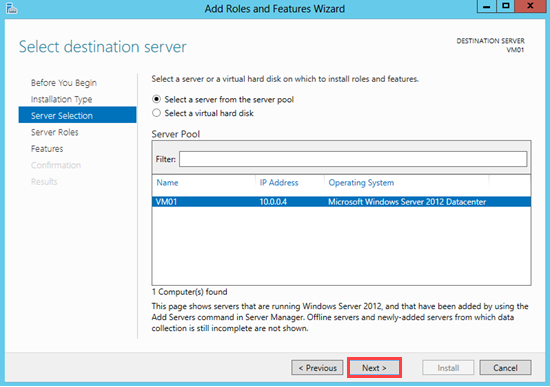
Select the server on which you want to install the roles and features. VM01 is the server on which we want to install the IIS Web Server. Click on the next button to proceed.
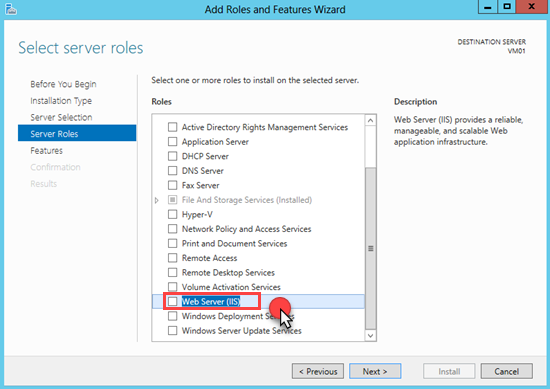
Select the roles which you want to install on the selected server. As we want to Install the IIS Web server, select the checkbox Web Server (IIS).
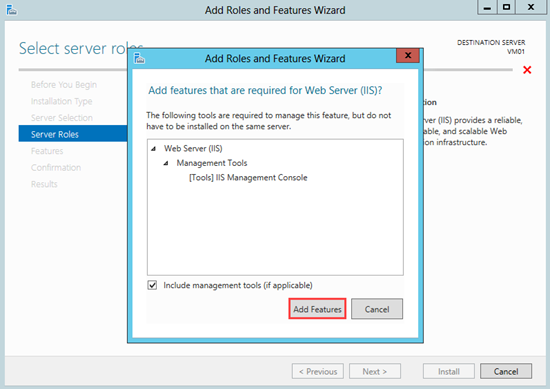
A dialog appears to add features that are required by the IIS web server. Select the Include management tools (if applicable) checkbox and then click on Add Features button.
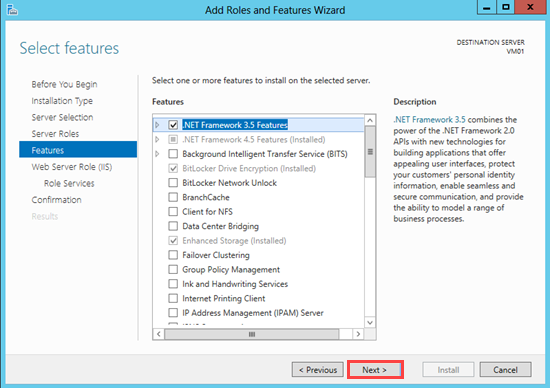
Select the features to install on the selected server as per your requirement. I need .Net Framework 3.5 Feature for my requirement that’s why selected that option. Click on the Next button to proceed.
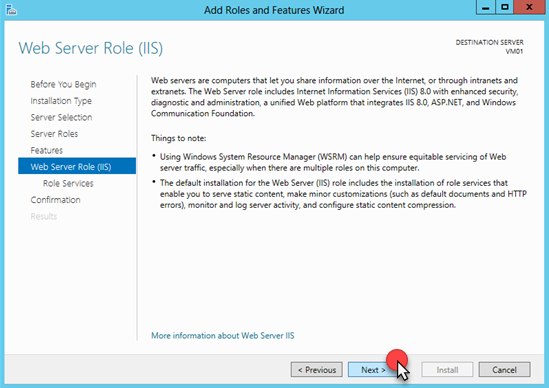
Read the information related to Web Server Role (IIS) and click on the next button.
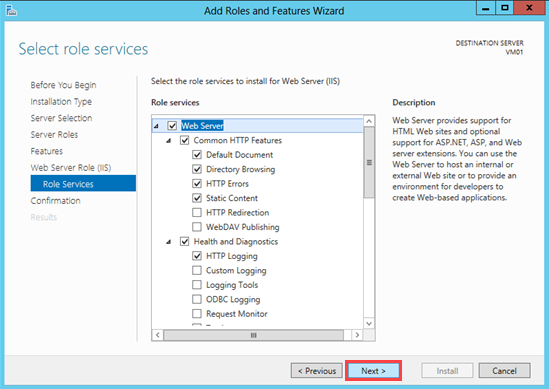
In the next step, select the role services to install for the Web Server (IIS) as per your requirement. You can also install other role services later on as well. Click on next to continue.
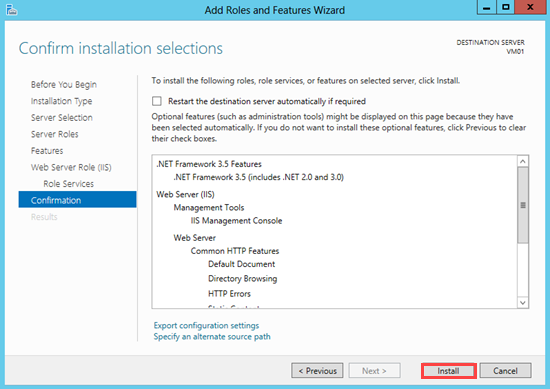
Confirm the selected role, role services, or features on the selected server. Click on the Install button.
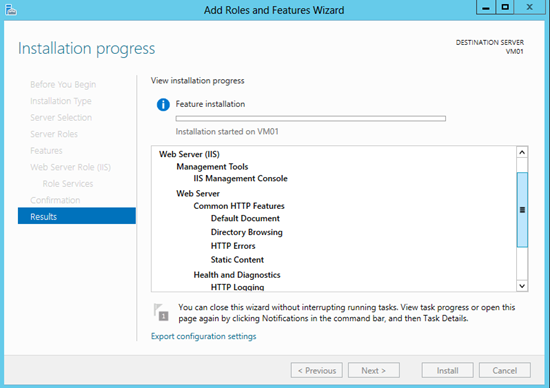
Installation of the selected role, role services, or features will be completed in a few minutes.
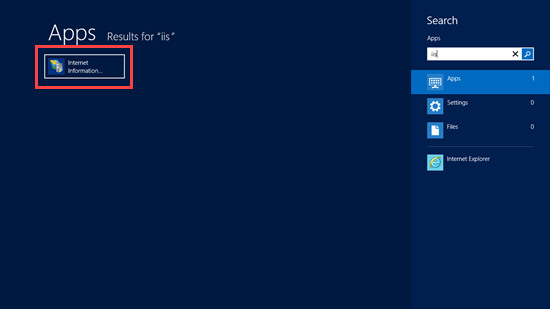
Run Internet Information Services (IIS) Manager through the Start button or using “inetmgr” command in Run Dialog (Start menu -> Run).
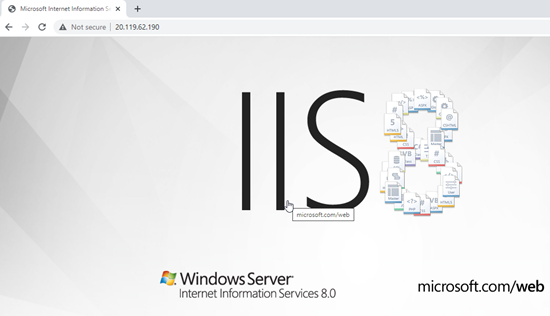
IIS Manager will be open. Go to the Default website and click on the Browse link to view the default localhost webpage.

Let’s try to open the default web page from any local system or mobile device. You will see the same default web page is accessible to the public.
Go to “C:\inetpub\wwwroot” in Windows Server 2012 and create an index.html file or put the website you want to deploy. I have added an index.html file which has simple few lines of HTML Code.

Now again access the same web page from the local system. You will see the page you created i.e. index.html page.
