Azure
Azure
Azure Container Instances
In this article, we will learn about Azure Container Instances.
Total Views: 3172
Azure Container Instances (ACI) is the service provided by Microsoft Azure to create and manage containerized applications. ACI supports both Linux as well as Windows Containers. Containers offer significant cost savings as compared to the VM instance, as a user only needs to pay for the CPU and the memory resources used by the container. A container can easily scale out as per the demand required for the container.
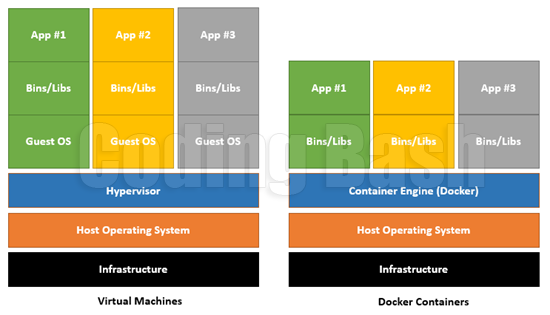
As you can see in the above image, multiple virtual machines can be created with the Hypervisor (Left side diagram). For each VM, a separate Operating System and the development runtime environment need to be installed. Whereas in the case of the Container, you don’t need to manage the operating system for the container. Containers are lightweight, easily scaled out, and stopped dynamically. Containers can be quickly restarted in case of any crash or hardware failure. Containers are managed through the container orchestrator which can start, stop and scale-out the application instances as required. There are two ways to manage Docker and Microsoft-based containers in Azure. One is Azure Container Instances (ACI) and Azure Kubernetes Service (AKS).
Let’s try to create and deploy a sample application with Azure Container Instances.
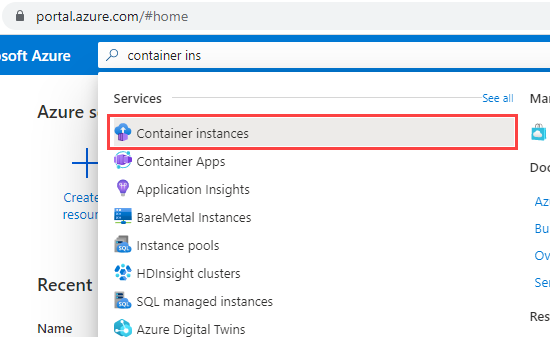
Log in to the Azure Portal and search for the Container Instances.
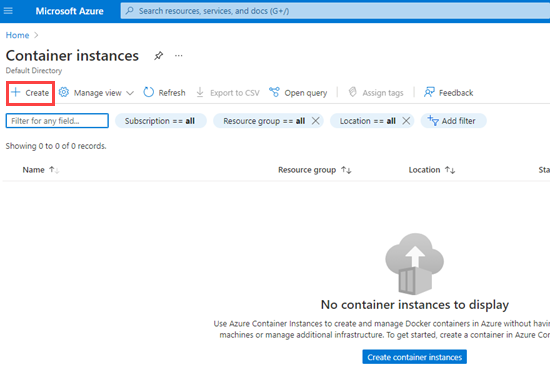
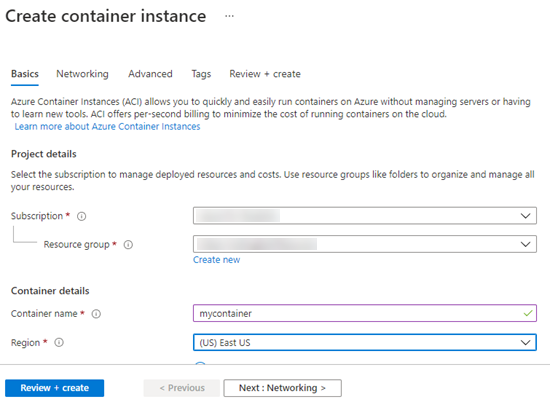
Click on the create button to create the Container Instance.
In the next step, provide the subscription details, container name, the region where you want to create the container instance.
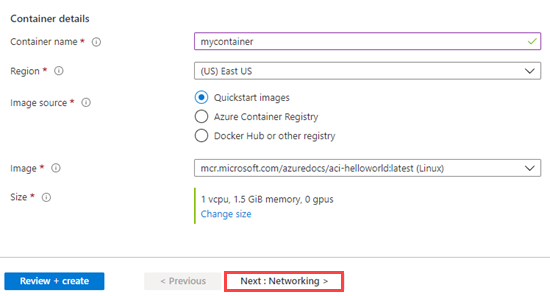
For demonstration, I am selecting Quick Start images for the container. You can pick from Azure Container Registry, Docker Hub, or another registry. Select the size required to run your Container Instance. Click on Next.
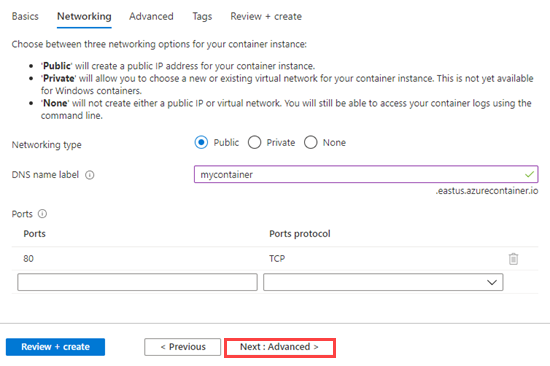
Choose the Networking Type. I selected the networking type as public which will create a Public I.P. for the container instance. Provide a DNS name label which is used to access the application. Enable the port required by the container instance. Port 80 is already added with which we can access the web application deployed on the container instance. Click on the Next: Advance button.
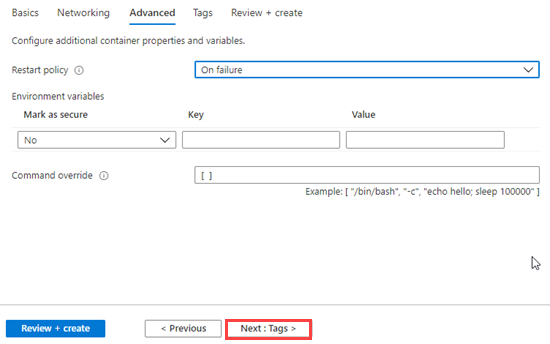
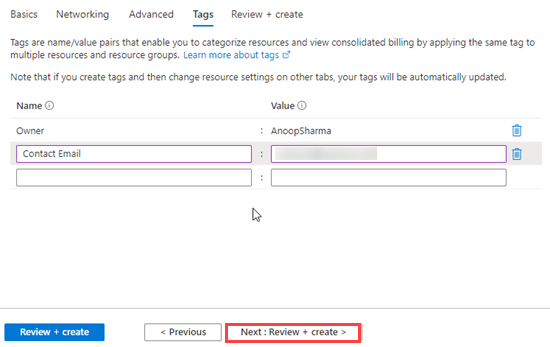
In the Advanced tab, you can configure the additional container properties and variables like Restart policy, Environment variables, etc. Click on the Next button to add the Tags for your container.
Tags are the name/value pairs that enable you to categorize resources and view the consolidated billing by applying the same tag to multiple resources and multiple groups. Click on the Review and Create button.
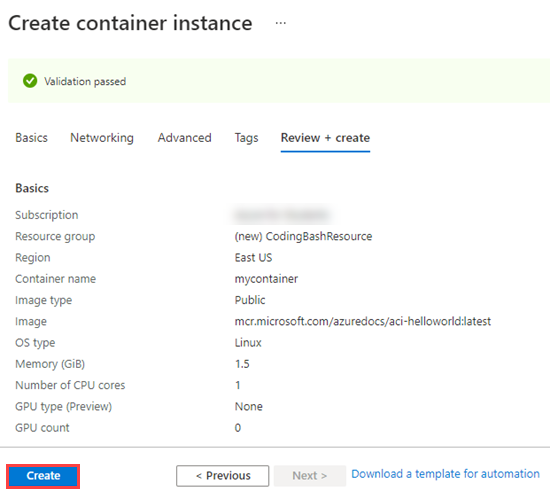
Some basic validation checks will be done. Once validation is passed. Review the configuration and click on create button. You can also go back to the previous step in case of any changes required in the Container Instance configuration.
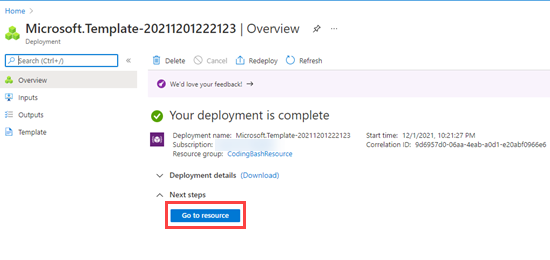
Within a few minutes, your deployment will be completed. Click on Go to resource to view your container instance.
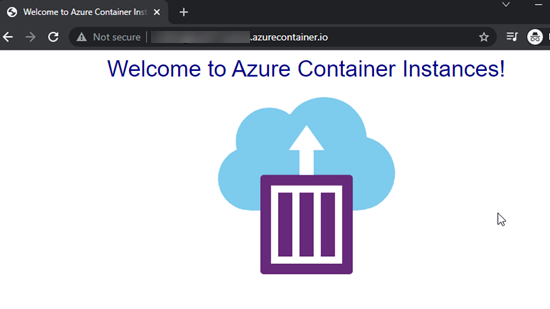
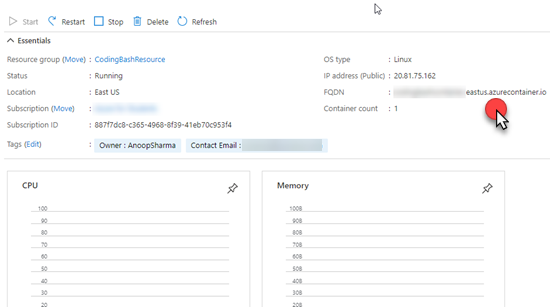
Copy the FQDN i.e., Fully Qualified Domain Name, and paste it in another browser tab to access the application instance.
Congratulation, our sample QuickStart image is deployed successfully in the Azure Container Instance.