Azure
Azure
Create a Virtual Machine in Azure
In this article, we will learn How to create a virtual machine in Microsoft Azure.
Total Views: 3105
In this article, we will learn How to create a virtual machine in Microsoft Azure. For demonstration, we will create a Windows server virtual machine and access it with a remote desktop connection.
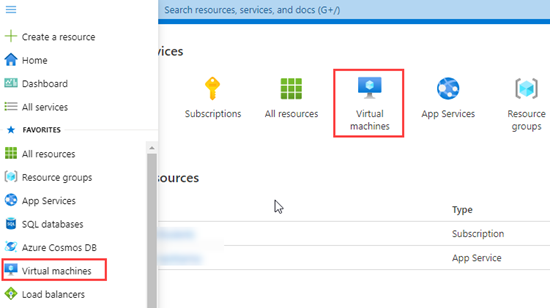
First login to the Azure portal and click on the Virtual Machines icon as shown in the below image.
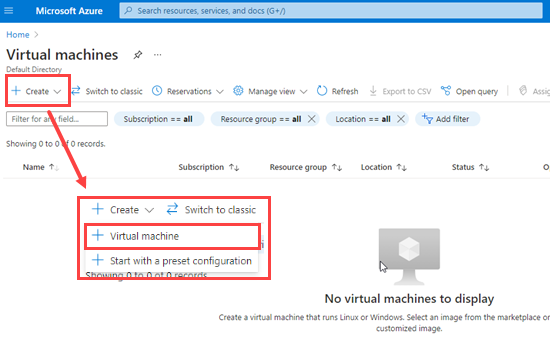
Click on create and then click on Virtual machine.
A wizard will open to create a Virtual machine with tabs (Basics, Disks, Networking, Management, Advanced, Tags and Review + Create) required for the Virtual Machine's configuration.
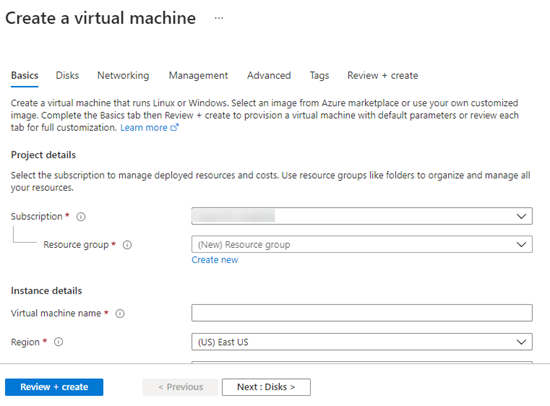
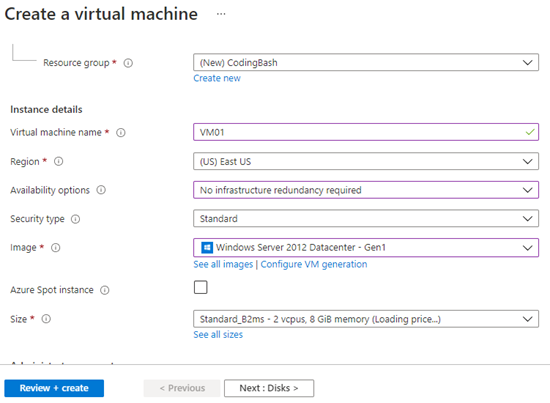
Provide the resource group in which you want to add the virtual machine resource. Click on create new in case you want to add it to a new resource group. Give a name to your virtual machine. Select the region where you want your virtual machine to be deployed.
What are Azure Resources and Resource groups?
Select the Availability options in case you want to configure the Availability zone and availability sets for the virtual machine. Select the security type and image for the virtual machine. For demonstration, I selected the Windows Server 2012 Datacenter - Gen 1. Select the CPUs and the RAM for the virtual machine.
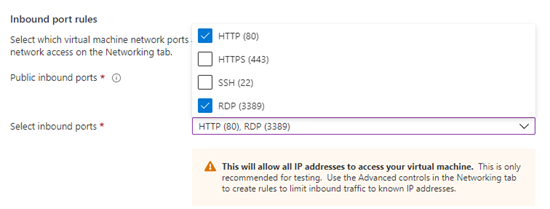
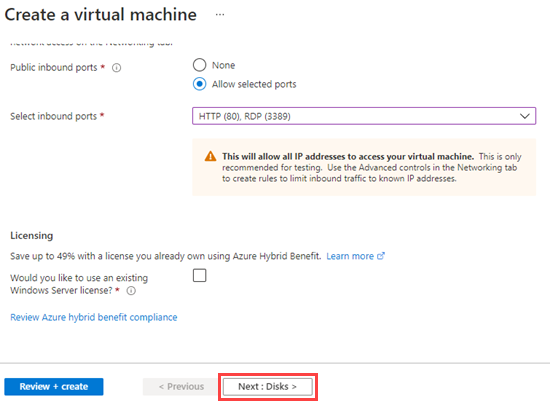
Provide the Administrator Account credentials which will be used for accessing the Virtual machine remotely. Make sure to select RDP (Port 3389) to access it through Remote Desktop Protocol. (I have also selected HTTP Port 80 as I will use this virtual machine as a web server which will be shown in the next article of this series).
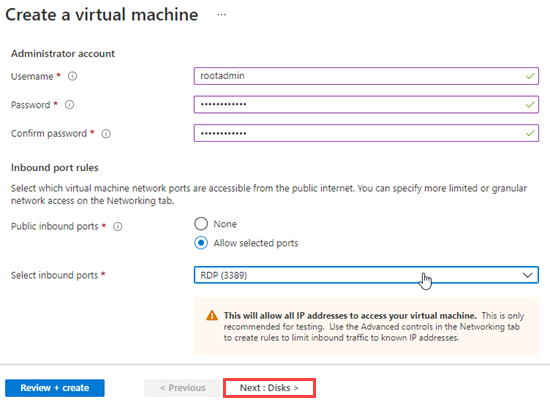
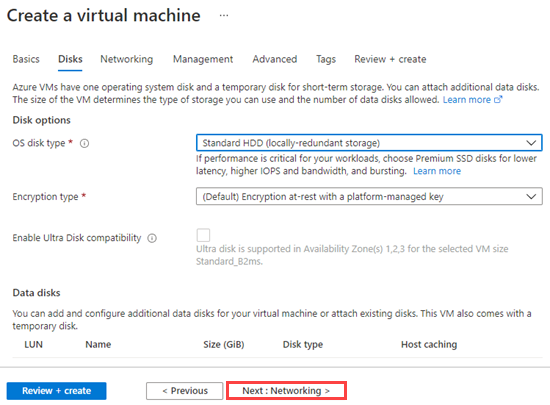
Click on the Next: Disk > button to configure the OS Disk type.
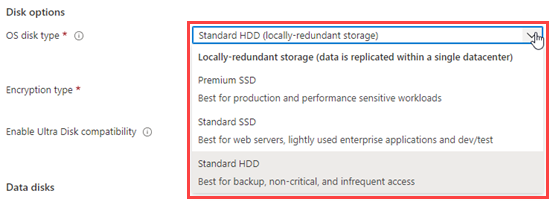
Select OS disk type. As I am creating this virtual machine for demonstration only, I am selecting the Standard HDD disk type.
You can choose OS Disk type as per your requirement from the below list.
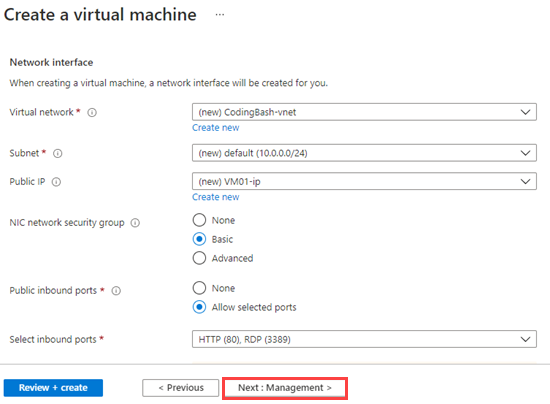
You can add multiple data disks to your virtual machine as well. Click on the Next: Networking > button in order to configure the network interface for your virtual machine. Provide a Virtual network name, subnet, Public IP, and other network details as per your requirement. Click on the Next: Management button.
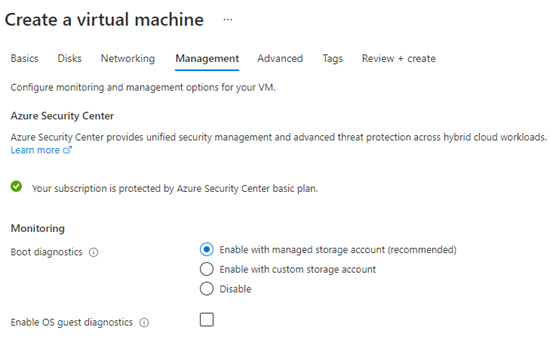
Under the management tab, you can configure monitoring and management options for your virtual machine. Below is the option which you can select under the management tab.
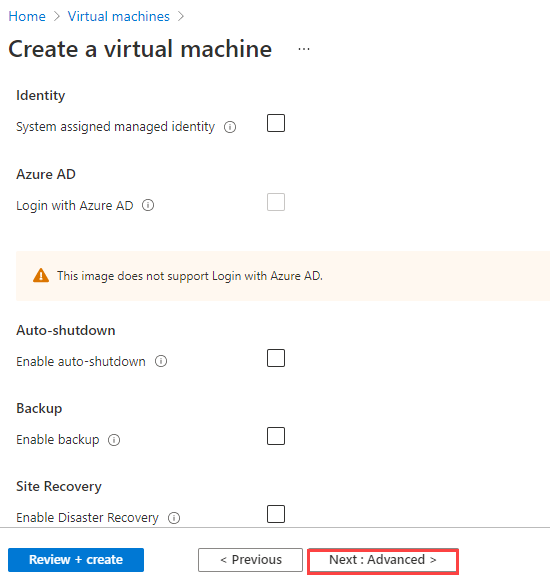
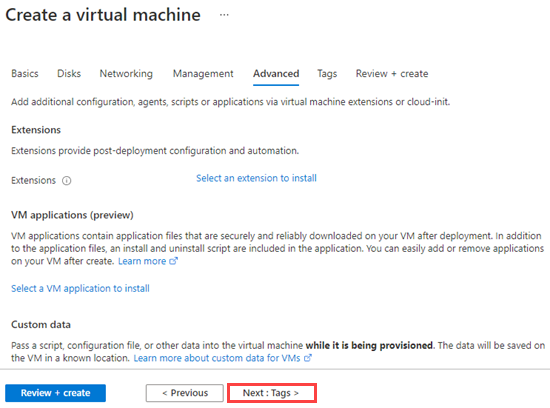
In the advanced tab, you can select additional configurations, agents, scripts, or applications via virtual machine extension or cloud-init. For example, we can select the extension for the Malware scanning which will be installed during the deployment of the Virtual Machine.
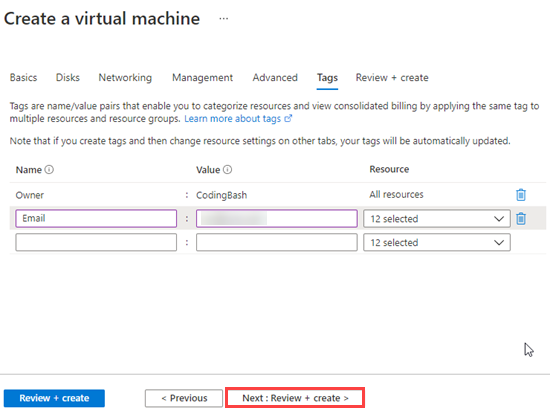
Under the Tags tab, you can provide Tags which are name/value pairs that enable you to categorize resources and view consolidated billing by applying the same tag to multiple resources and resource groups. I am providing the owner and Email in the Tags name-value pair. Click on Review and Create.
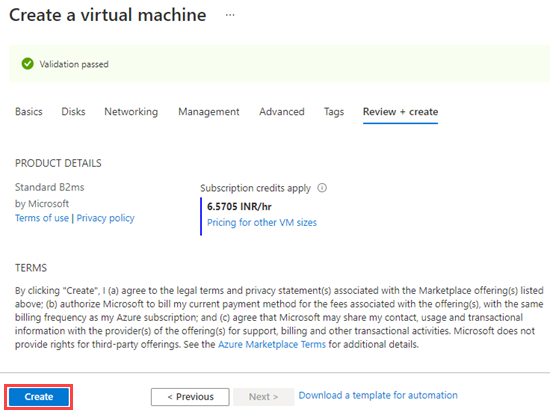
In the review and create tab, it will validate the configuration, show the price, and list all the configurations done for the setting up the Virtual Machine. Here you can review and go to previous steps in case any changes are required. Click on create button in order to create a virtual machine.
After clicking on Create button, Deployment of the Virtual machine will be started. You can check the progress of the deployment as shown in the below image. It will take a couple of minutes for the deployment (It took around 4 minutes for me).
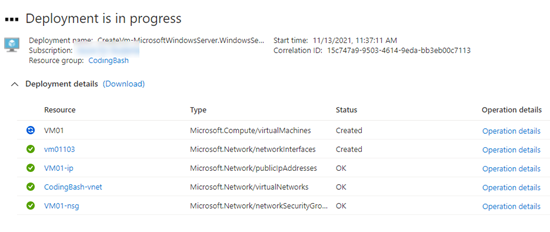
Once deployment is complete, you will get the “Your deployment is complete” message.

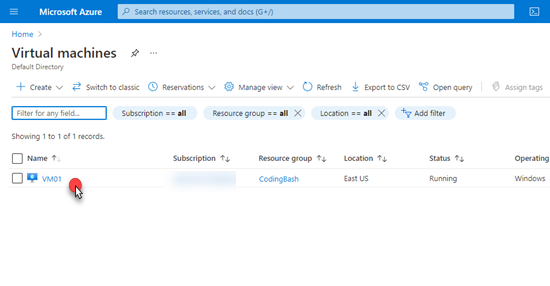
In the virtual machine, you can see the deployed Virtual Machine's detail and its status. Click on the name of the Virtual machine to view virtual machine details.
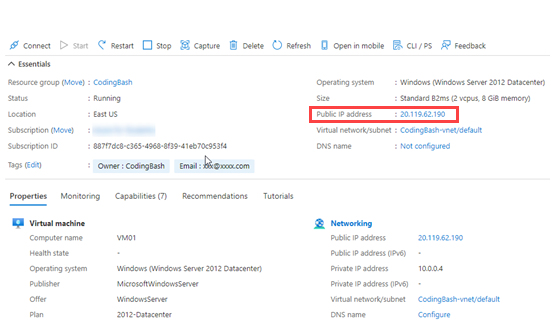
We need Public IP Address to connect it from the remote desktop connection.
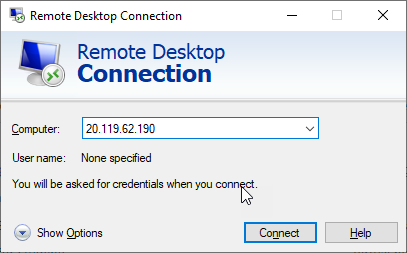
Open the Remote Desktop connection (Press "Ctrl+R" and run "mstsc" command).

Provide the Public IP Address in the Computer name and click on connect.
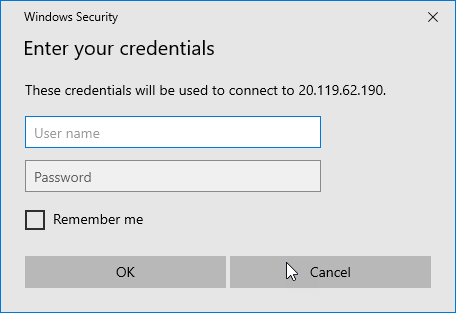
Provide the credential which was configured during the Virtual machine configuration.
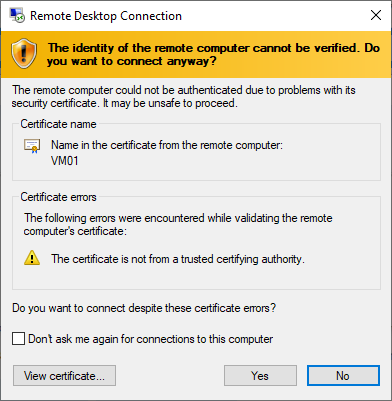
If you get a warning message as shown below, Click on Yes to continue.
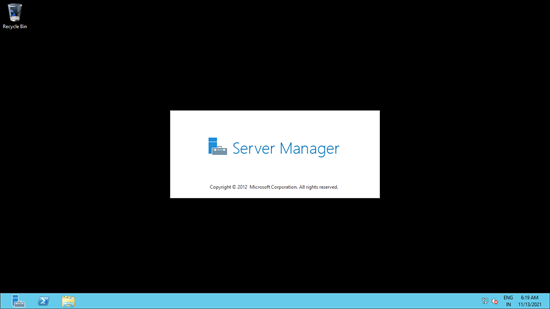
Windows Server will do the quick configuration for the first time and in a few minutes, it will be available for use.