Azure
Azure
Azure Virtual Desktop
In this article, we will learn about Azure Virtual Desktop and its step-by-step configuration in Azure.
Total Views: 3123
Azure Virtual Desktop is a desktop and virtualization service that runs on the cloud. With this service, users can access the Windows client through the Virtual Desktop Client application or through the HTML5 Brower. Using a HTML 5 supported browser enables non-Windows devices such as Android, Mac, Linux, etc. can be used to connect to Azure Virtual Desktop sessions. Azure Virtual Desktop is useful in the distributed work environment where users can work from home or from remote locations. Instead of providing the Windows Physical device to the user which may also take time in case the user is working from the remote location as shipment of the device also takes time, access of the Azure Virtual Desktop can be provided to the user within an hour.
Some of the Key Features of the Azure Virtual Desktop are:
1. Simplified Management: Azure provides the tools to automate the VM Deployment, manage the VM updates, and provide disaster recovery.
2. Performance Management: Azure Virtual Desktop provides the option to load balance the users on the VM host pools. Host pools are the collection of the VMs with the same configuration assigned to multiple users. Breadth-First load balancing distributes the new user sessions across all available session hosts in the host pool. Depth-First load balancing distributes the new user sessions to an available session host with the highest number of connection but has not reached to its maximum number of threshold. To save costs, you can configure the VMs for the depth mode of the load balancing where users are fully allocated on one VM before moving to the next.
3. Multi-Session Windows Deployment: Multi-session Windows-based operating system enables multi concurrent users on a single VM.
Let’s see How to configure the Azure Virtual Desktop step by step:
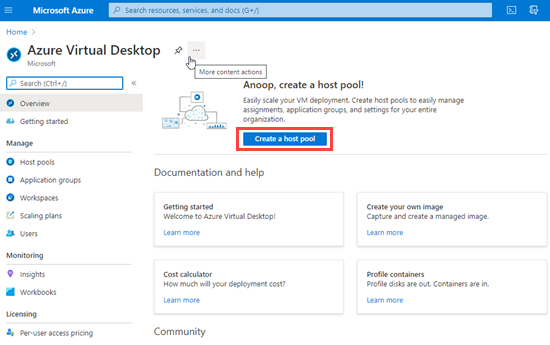
Log in to the Azure portal and search for the Azure Virtual Desktop Service.

Click on Create a host pool button.
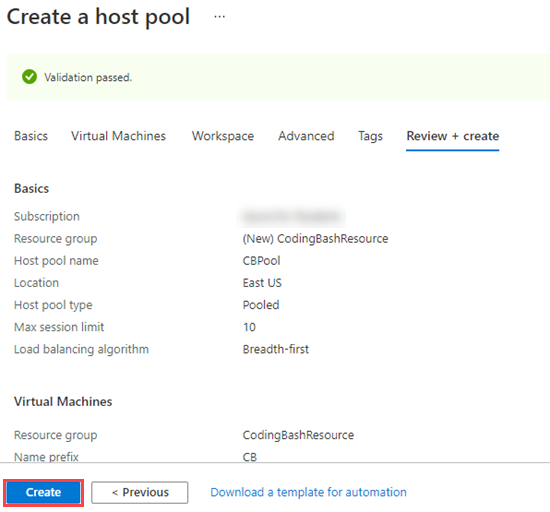
Select the subscription. Add the service in the Resource group, provide a Host Pool name, location, validation environment, etc.
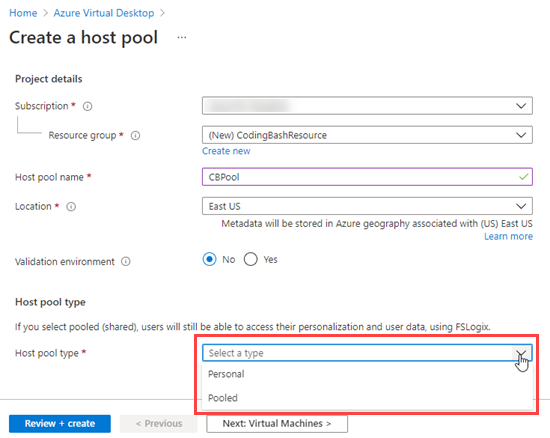
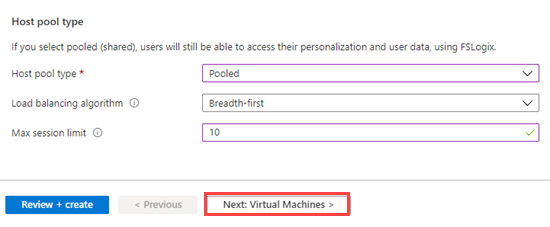
Select Host pool type. It can be either Personal or Pooled. Select the Load balancing algorithm (it can be Breadth-first or Depth-first) and Max session limit. Max. session limit is the maximum number of users that can have concurrent sessions on a session host. Click on Next to configure the details for the Virtual Machines.
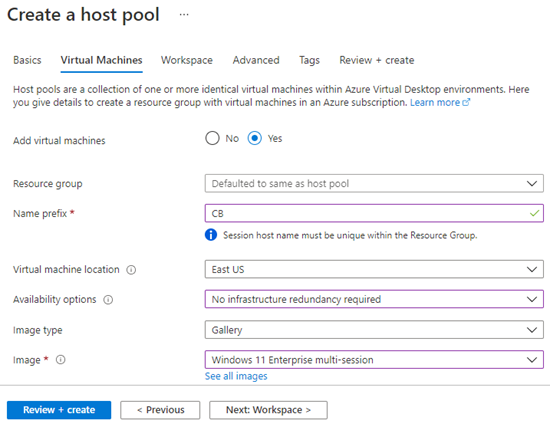
Add a Virtual Machine and provide the details like Resource group, Name prefix for the Virtual Machine, Location for the VM, Availability option, Image type and Image, etc. For demonstration, I selected the Windows 11 Enterprise multi-session Operating system.
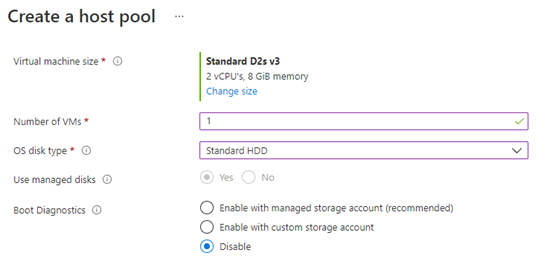
Select the Virtual machine size, Number of the VMs, OS Disk Type, Boot Diagnostics. For demonstration, I selected the Standard HDD and Disabling the Boot Diagnostics as it's not required for me.
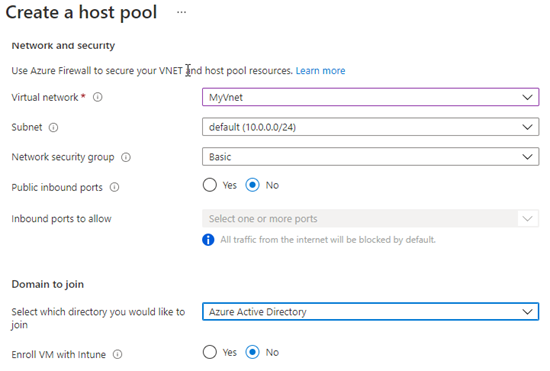
Select the Network and Security configurations in the next step. Select Virtual Network (Create if not exists), Network security group, public inbound ports, select the directory you want to join. I selected the Azure Active Directory.
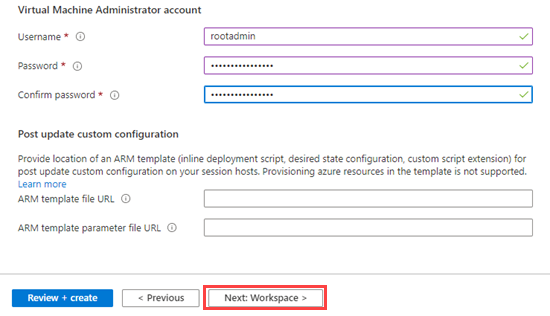
Provide Virtual Machine Administrator account details. You can also configure the Post update custom configuration (not mandatory). Click on next button to configure the Workspace details.
Create a new Workspace by clicking on create a new link. I created a workspace named CBWS. Click on next to configure the Advance diagnostic settings.

For demonstration, I am not enabling the diagnostics settings as I am trying to keep this step up as simple as possible. Click on the next button to configure the Tags.

Tags are name/value pairs that enable you to categorize resources and view consolidated billing by applying the same tag to multiple resource and resource groups. Click on the next button to validate and review the configuration.

Once validation passed, click on the create button to create the host pool.
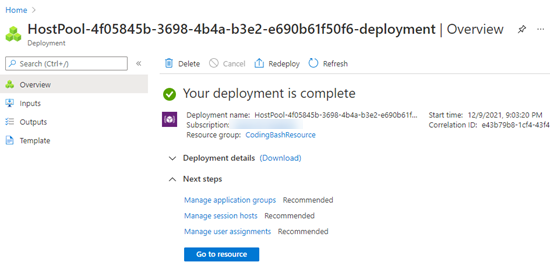
It will take around 10-15 minutes to complete the deployment. Once deployment is complete, you will get a notification.
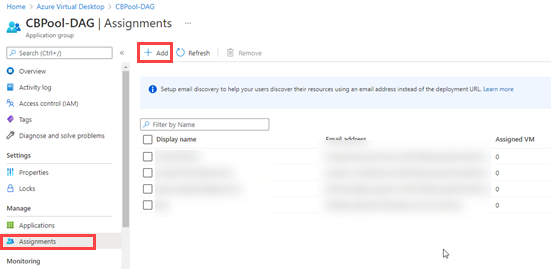
Click on the Assignment menu in the Application group of the Virtual Desktop to provide the access to the users. Click on Add button to add the user.
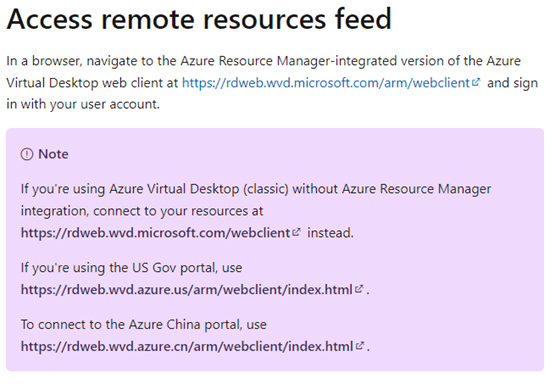
User will be notified on the mail once the access is granted to the user. User can access the Azure Virtual Desktop by clicking on the links shown below.
Provide the login credential you have in order to access the Azure Virtual Desktop.

After login, you will see the assigned Virtual Desktop under the Workspace.
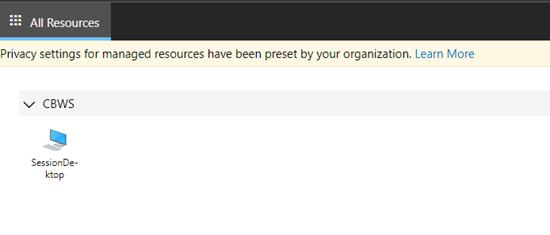
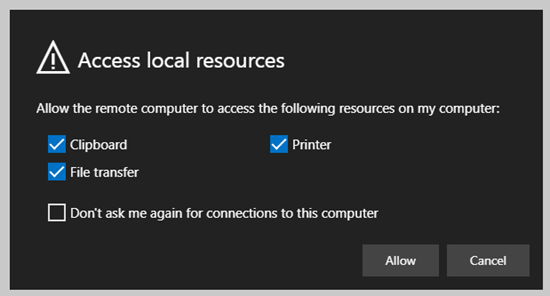
Click on it and allow access to the local resources as per your requirement. Click on Allow to continue.
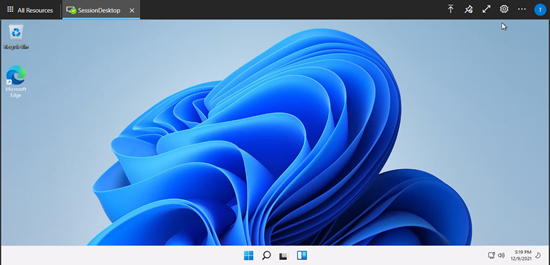
Finally, We are successfully connected to Windows 11 with the browser. In the same host pool application group, we can add more users as per the requirement.